
Last updated November 15, 2026
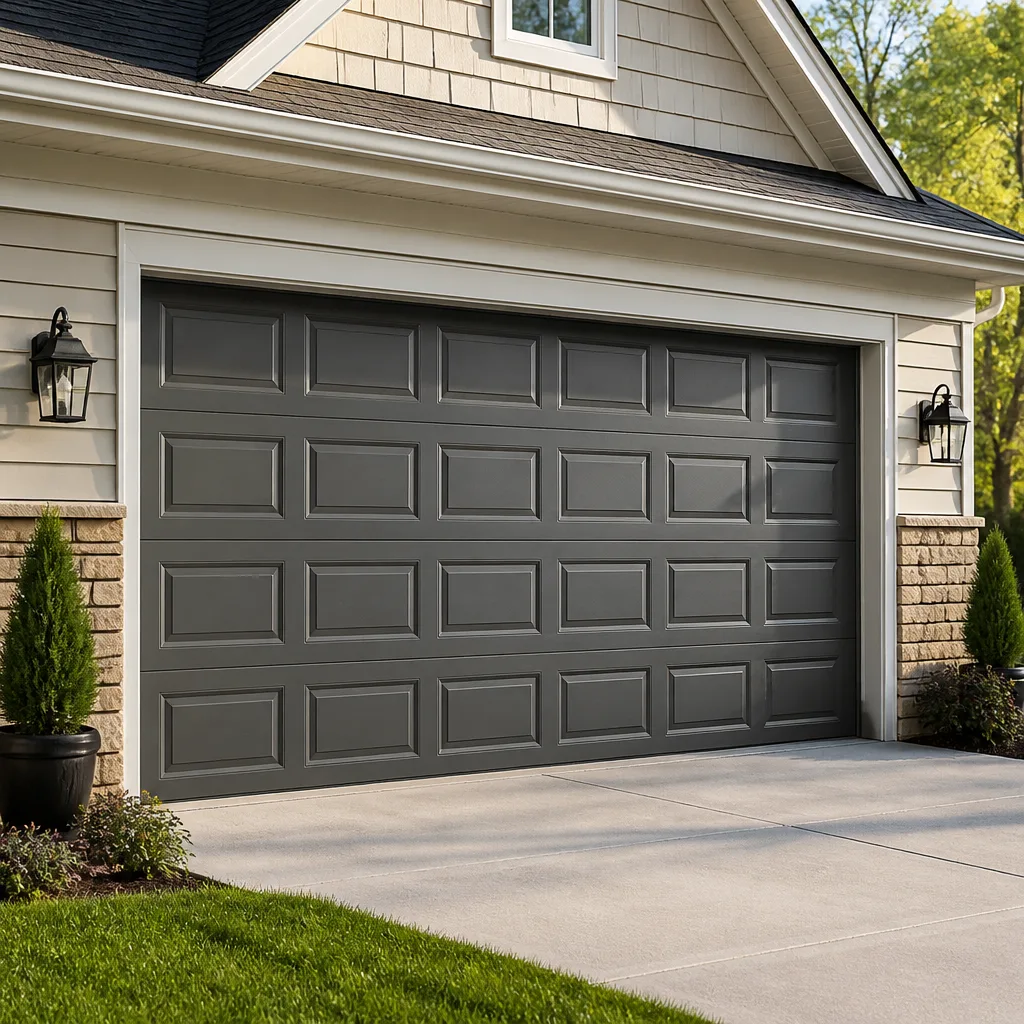 Raised-panel steel
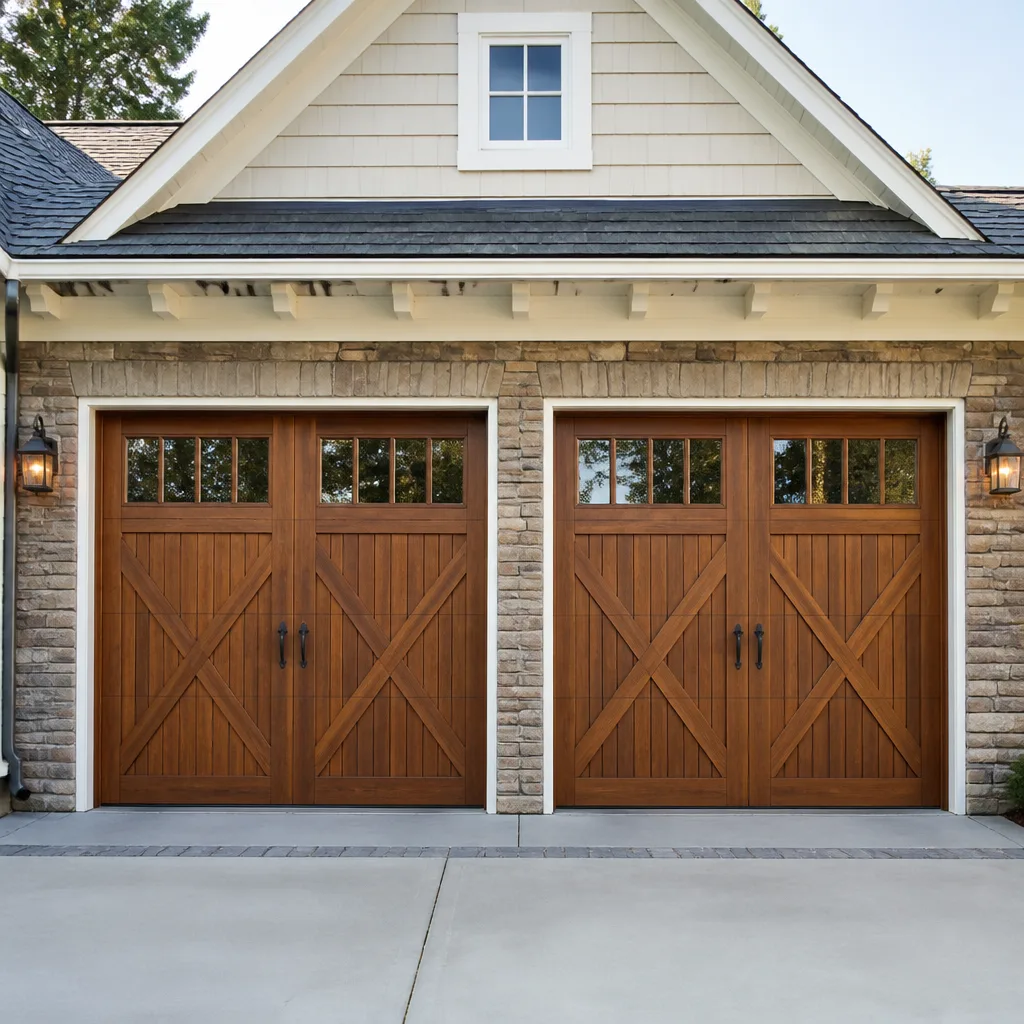 Carriage house
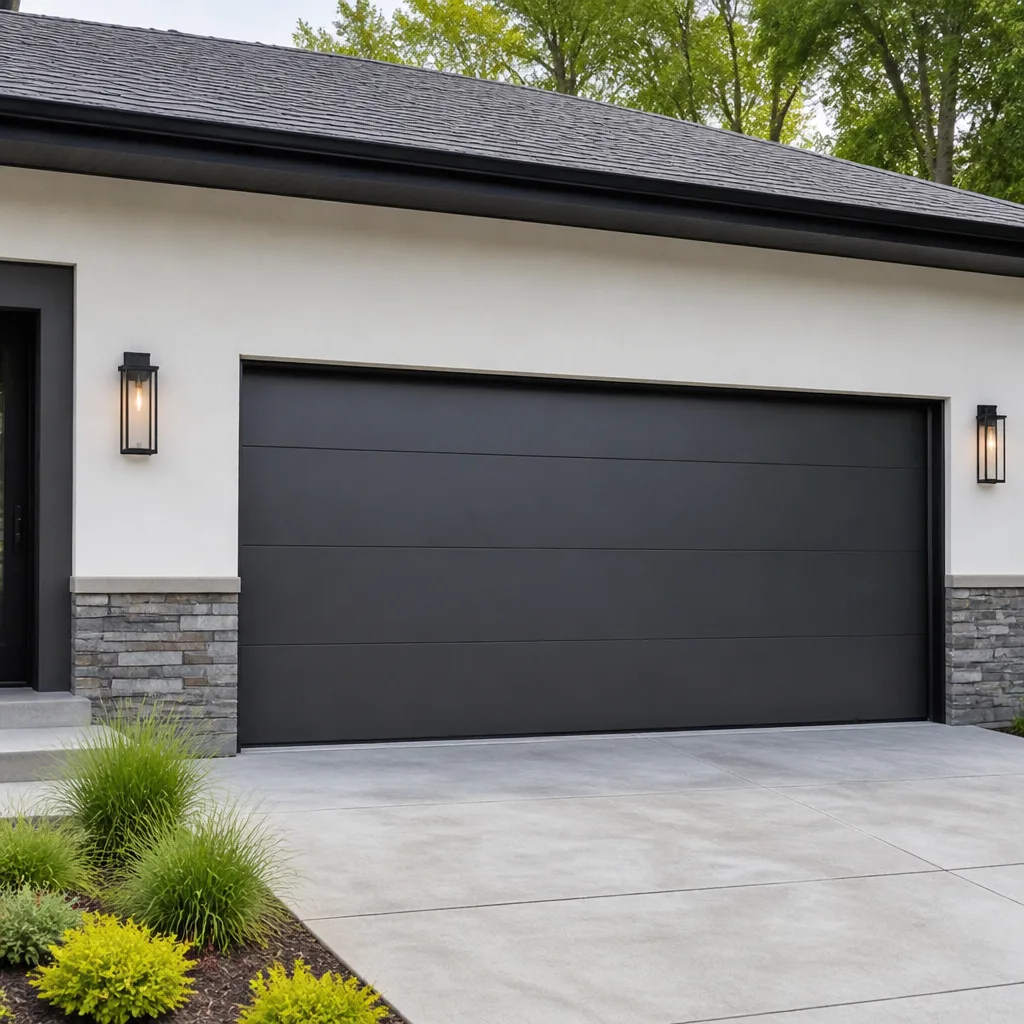 Modern flush
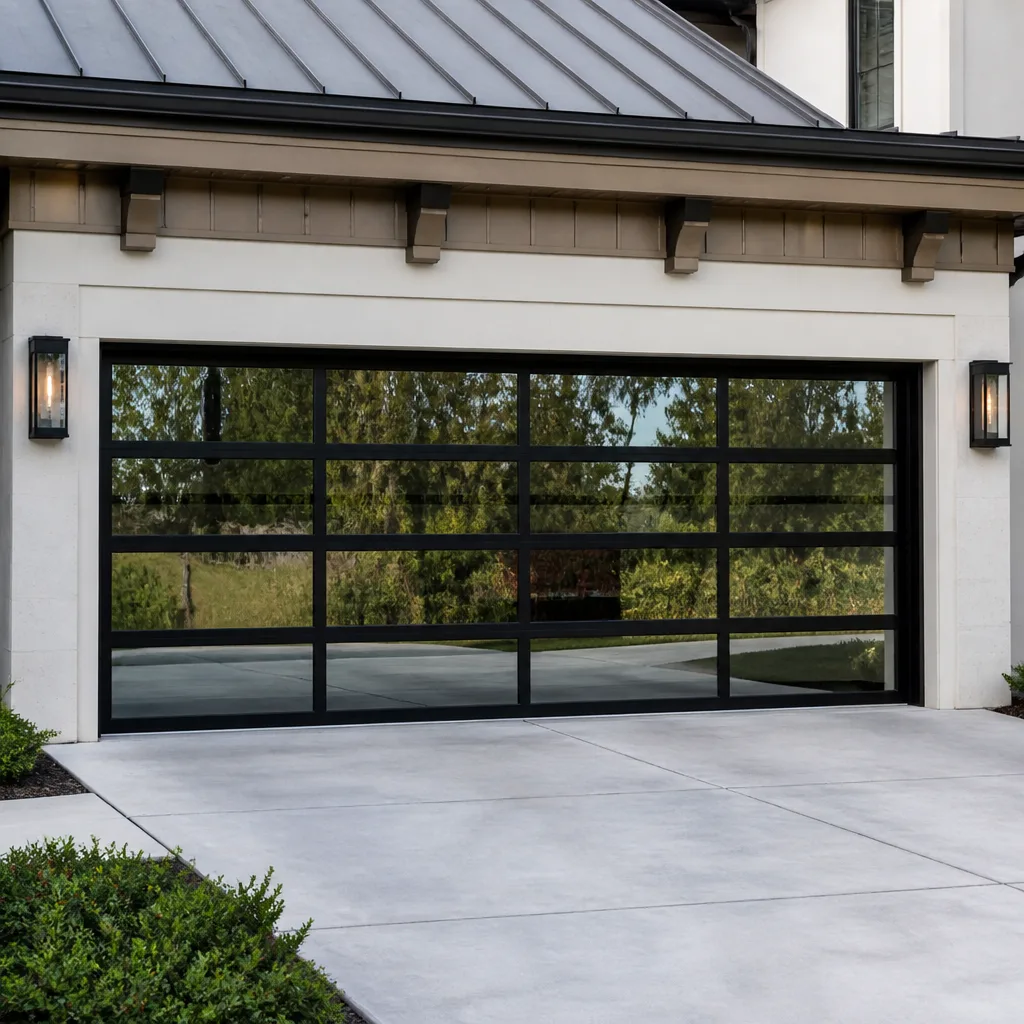 Full-view glass
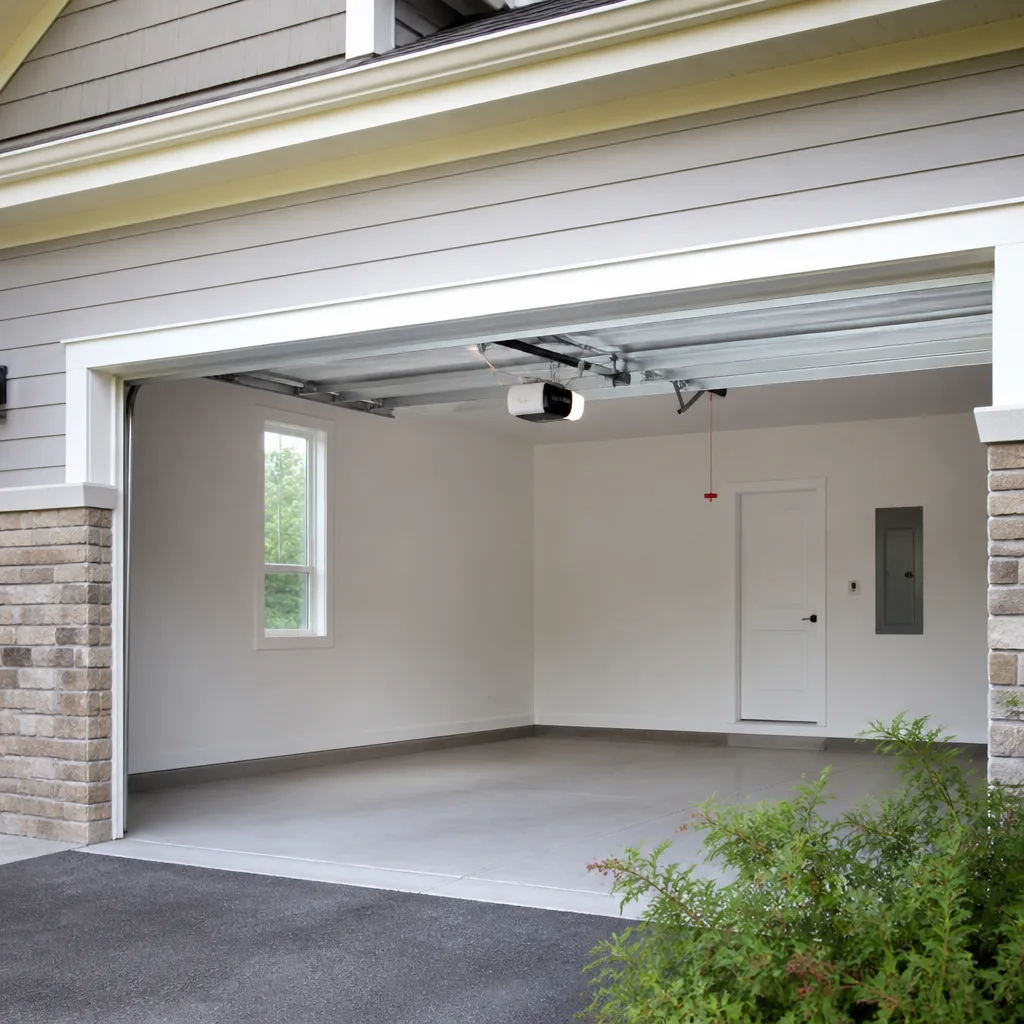 LiftMaster openers
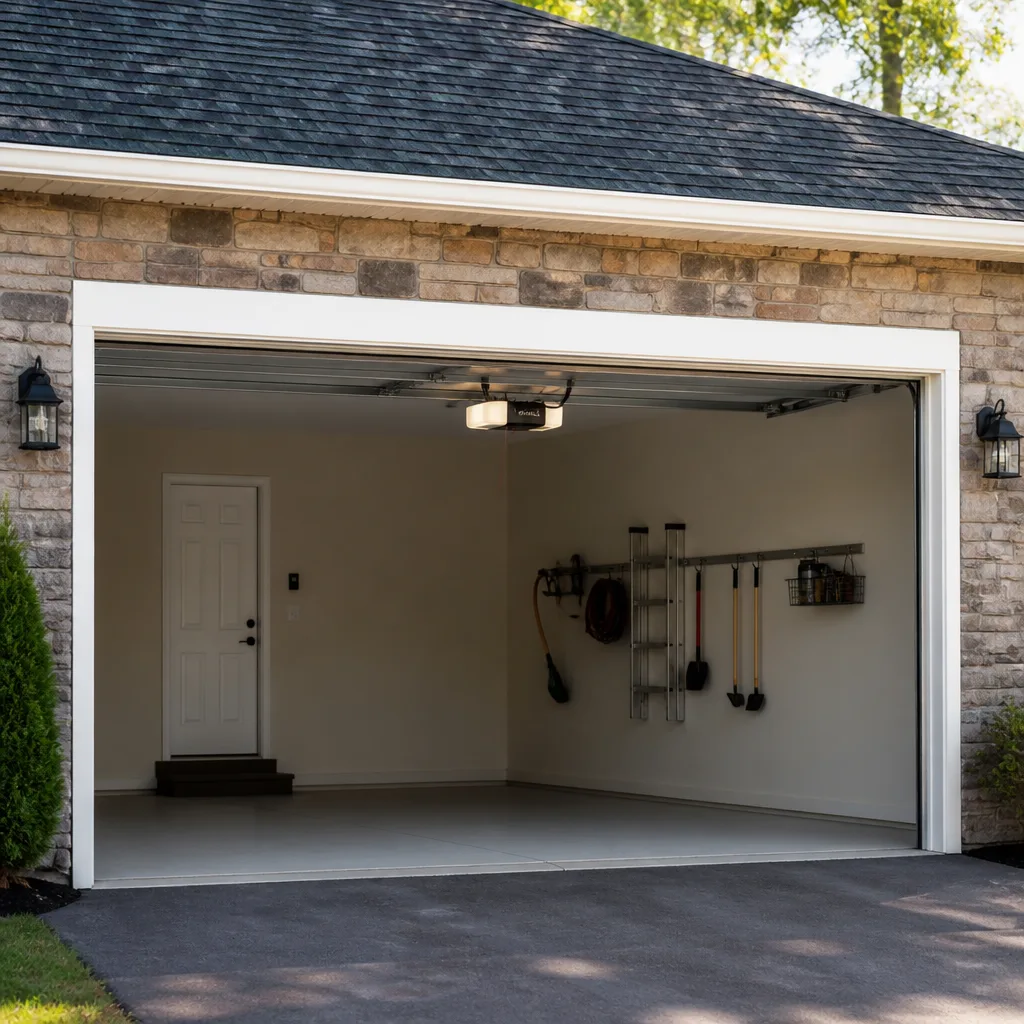 Chamberlain openers
Full 25-point door and opener safety check with every visit - springs, cables, rollers, tracks, and your LiftMaster or Chamberlain opener included
You get a price before we start. It does not change when the pro arrives.
Get your free estimateGarage Door Repair Troubleshooting in Waterbury: Common Problems and How to Fix Them
Most troubleshooting advice for a stuck or noisy garage door starts and ends with “check the springs.” That’s like diagnosing a car by listening to the engine and guessing. A residential garage door has 12 to 15 mechanical components that can fail independently, plus an opener with its own set of electronics, sensors, and logic. Chasing the symptom instead of the failed part is why the same door breaks again months later, and it’s why homeowners end up paying for a replacement part that was never the problem. This guide maps what you’re hearing, seeing, and feeling back to the actual component at fault – door-side versus opener-side, safe to inspect versus hands-off – with notes on how Waterbury’s freeze-thaw winters speed up specific kinds of wear. By the end you’ll know what’s worth checking yourself and what needs a specialist.
Quick Answer
Garage door problems almost always trace back to one of six components: springs, cables, rollers, tracks, the opener motor, or the safety sensors. Match your symptom to the component first – grinding points to rollers or bearings, a crooked door points to a cable or spring, a door that reverses immediately points to sensors or limit settings – then decide whether it’s a safe visual check or a job for a trained technician. Springs and cables are never a DIY repair. Everything else starts with an inspection, not a parts swab.
Styles & brands we work with
- Raised-panel steel
- Carriage house
- Modern flush
- Full-view glass
- LiftMaster openers
- Chamberlain openers
Table of Contents
- Symptom-to-Component Fault Map
- Opener-Side vs. Door-Side Failures: Why the Distinction Saves Money
- The Big Four: Springs, Cables, Rollers, and Tracks
- How Waterbury’s Freeze-Thaw Cycles Accelerate Wear
- When a Door That “Mostly Works” Becomes a Liability
- A Step-by-Step Diagnostic Sequence You Can Run Safely
- Brand-Specific Quirks: What We See Across the Major Systems
- Common Mistakes to Avoid
- When to Call a Professional
- Frequently Asked Questions
Symptom-to-Component Fault Map
Start here. The fastest way to stop wasting money on the wrong repair is to translate what your door is doing into the component most likely responsible. The table below is the same fault map our technicians work from when they arrive on a call in Waterbury.
- Loud grinding or scraping as the door moves: worn steel rollers, dry hinges, or a failing bearing plate. Not the springs.
- Door moves a few inches then stops and reverses: safety sensor misalignment, a blocked photo-eye, or a travel-limit setting that’s drifted.
- Door hangs crooked, one side lower than the other: a stretched or snapped cable, or a broken torsion spring on one side of a pair.
- Loud bang from the garage, door won’t lift: torsion or extension spring failure. This is the most common catastrophic failure and it’s never safe to run the door afterward.
- Opener motor runs but door doesn’t move: broken spring, snapped cable, or a stripped drive gear inside the opener. Isolate door-side from opener-side before buying anything.
- Door closes then immediately reopens: safety sensor interrupted, or the close-force limit set too low for temperature changes.
- Remote works only up close: weak remote battery, antenna wire pinched against metal, or logic board issue on older openers.
- Blinking light on the opener, door won’t respond: sensor obstruction, wall control wiring fault, or a lockout from a prior fault code.
- Door slams shut instead of cushioned stop: failed spring tension or a limit switch out of adjustment.
- Visible gap at the bottom when closed: worn bottom weather seal, or a track that’s slipped out of alignment.
Every one of those symptoms is a pointer, not a diagnosis. Grinding could be rollers or it could be a hinge pin, and a door that won’t close could be a sensor or a limit setting. The point of the fault map is to narrow the field before anyone touches a part. If your symptom isn’t on the list, describe it to us and we’ll walk you through which side of the system to look at. That’s the difference between a specialist and a generalist.
Opener-Side vs. Door-Side Failures: Why the Distinction Saves Money
Here’s the misdiagnosis that wastes the most money: a homeowner hears the opener motor running, assumes the opener is fine because it “sounds normal,” and buys a new opener. Or the opposite – a failing opener gets blamed on the door and the door gets serviced for no reason. The two sides of your system are separate, and separating them is the single most useful troubleshooting step you can take.
Door-side components
- Springs (torsion or extension), cables, and drums
- Rollers, hinges, and bearing plates
- Vertical and horizontal track sections
- Panels and bottom weather seal
Opener-side components
- Motor and drive gear
- Logic board, wall control, and remotes
- Safety sensors and photo-eye wiring
- Travel limit and force adjustment settings
- Chain, belt, or screw drive assembly
To tell them apart: disengage the opener using the manual release cord so the door operates by hand. If the door is heavy, binds, or won’t stay where you put it, the problem is door-side. If the door moves freely by hand but the opener runs without lifting it or stops for no reason, the problem is opener-side. If BOTH conditions happen, you likely have two separate issues.
The distinction matters because garage door opener repair is its own specialty. Openers are the most likely component to fail on a well-maintained door, and most homeowners have a hard time finding a technician who treats opener work as a dedicated service rather than the afterthought to a door repair. At Ambassador Garage Door Repair opener repair is a named service, not a footnote, and that’s the whole reason we separate the two sides in the first place.
The Big Four: Springs, Cables, Rollers, and Tracks
Most garage door failures come down to four components. Three of them you can visually inspect from the floor. One of them you absolutely never touch. Know which is which.
Springs – professional only
Torsion springs are mounted on a steel shaft above the door and hold enormous stored energy. Extension springs run alongside the horizontal tracks. Both can cause serious injury if a homeowner tries to wind, unwind, or replace one, and both should be treated as hands-off for anyone without training and the right winding bars. What you can do is look: a torsion spring with a visible gap between coils, or an extension spring stretched longer than its neighbor, is a failed or failing spring. If you see that, stop using the door and call a professional. Spring work is the highest-risk repair in this trade.
Cables – professional only
The two cables run from the bottom corners of the door up to the drums on the spring shaft. Cables are under constant tension and a snapped cable can whip. Look for fraying near the drum or at the bottom bracket, and look for slack cable hanging loose. If you spot either, don’t run the door – a broken cable on one side lets the door drop crookedly and can damage panels, tracks, and the opener at the same time.
Rollers – safe to inspect
Rollers ride inside the track and take the most daily wear of any component on the door. With the door closed, look at the rollers on the sides: nylon rollers should look smooth and round, steel rollers should spin freely without wobble. Flat-spotted steel rollers grind and drag. Worn rollers cause most of the loud noise homeowners complain about, and they’re one of the cheapest parts to replace. That’s why a grinding door usually doesn’t need a new opener – it needs new rollers.
Tracks – safe to inspect, best left to a technician to adjust
Tracks should run parallel to the door and be clear of dents. Run your eye down each vertical track and check the gap to the door edge stays consistent from top to bottom. A dented track is a roller jam waiting to happen. Track adjustment sounds simple but a track that’s out of square by a fraction will wear rollers fast, so the realignment is best done with the door balanced and the correct fasteners. When your garage door repair visit begins this way, it usually ends there too – most doors need one or two parts, not a rebuild.
How Waterbury’s Freeze-Thaw Cycles Accelerate Wear
Waterbury sits in a climate that swings hard between freezing and thawing through the winter, and that cycle does specific, predictable damage to a garage door that homeowners in milder climates simply don’t deal with. If your door develops problems every spring, this is usually why.
Track misalignment. The gap between the door and track changes with temperature. On a 20-degree morning, the metal contracts slightly; by afternoon in a sun-warmed garage, it expands. Over a full season, the fasteners holding the track brackets can loosen just enough to let a track drift out of plumb. Doors that worked fine in October often start binding in March for this exact reason. If your door catches or drags on one side, check the track alignment before you blame the opener.
Cable fraying. Steel cables expand and contract alongside the door. Repeated cycles of tension and relief stress the strands near the drum, and fraying tends to show up more in cold-climate garages than warm ones. That’s why a twice-a-year visual check of the cables is worth doing up here – especially in early spring after a hard winter – rather than the once-every-few-years most guides recommend.
Weather seal and panel damage. The bottom seal takes the brunt of freeze-thaw. Water gets behind the seal, freezes, and pulls it away from the door. A seal that’s cracked or half-detached at the corners lets drafts and pests in and eventually warps the bottom panel edge. If you see daylight under the door when it’s fully closed, that’s a seal issue, not a track issue.
Roller wear. Rollers take more abuse on doors that get iced in at the bottom edge, where the first inch of travel crunches through frost every cold morning. Grinding that starts in winter and quiets in summer is a strong sign your rollers are at the end of their life.
None of this is a reason to panic. It’s a reason to inspect once in fall and once in spring rather than waiting for a component to fail. A ten-minute visual check on each side of the Waterbury season change catches most of what a freeze-thaw climate does to a door.
When a Door That “Mostly Works” Becomes a Liability
There’s a specific threshold homeowners cross without realizing it. A door that opens slowly, stops an inch short, reverses on cold mornings, or needs two remote presses is not a functioning door. It’s a door that’s likely to fail soon, and in the meantime it’s a moving hazard. Here’s how to tell when to stop using it.
Stop operating the door and call a professional if any of these are true:
- The safety reverse test fails. Place a piece of wood flat under the door and close it. If the door doesn’t reverse on contact, the safety system is faulty and the door should not be used until it’s fixed. This is the single most important threshold, because a door that won’t reverse on an obstruction can injure a person or damage property.
- You see a broken spring or a slack cable. Don’t run the door and don’t try to prop it open. A door running on one spring is unbalanced and puts all the load on the opener, which can tear the opener apart and drop the door.
- The door hangs visibly crooked when closed. One side down means a cable or spring has failed. Running it makes it worse quickly.
- The door slams shut or hits the floor hard. That’s a spring or limit issue and it’s hard on the door, the opener, and anything under the door.
- You can lift the door by hand with almost no effort and it won’t stay up. A balanced door should hold roughly where you leave it. If it falls shut, the spring tension is gone.
A door that “mostly works” is a door that fails on a morning when you’re already late. The safety reverse test takes 30 seconds and is the one check every homeowner in Waterbury should run once a month. If it fails, stop using the door and get a technician out.
A Step-by-Step Diagnostic Sequence You Can Run Safely
Before you call anyone, you can narrow the problem down yourself with nothing more than your eyes, your hands, and 15 minutes. Here’s the sequence we’d suggest, in order, because each step rules out a whole category before the next one starts.
- Run the safety reverse test. Door open, piece of wood under the door, hit close. If the door doesn’t reverse on contact, stop here – safety system fault, professional service.
- Listen for where the noise comes from. Grinding from the sides = rollers or hinges. Clicking or humming from the opener unit on the ceiling = opener-side. A single loud bang = spring failure.
- Test the door by hand. Pull the manual release so the opener disengages. Lift the door a foot and let go. A balanced door stays put. If it sinks, spring tension is gone. If it binds halfway up, it’s a track or roller problem.
- Check the photo-eye sensors. Look at both sensors at the bottom of the tracks. The indicator light on each should be on. If one is off or blinking, wipe the lens, check nothing is blocking the beam, and look for a loose wire at the back of the sensor.
- Inspect the tracks visually. Eyeball each vertical track for dents and check the gap to the door stays even. Bent tracks need a technician.
- Inspect the rollers and cables. Worn rollers pull out easily; frayed cables are visible near the drum. Broken springs show the gap between coils. Do not loosen or remove anything on the spring shaft.
- Test the remotes and wall control separately. If the wall control works but remotes don’t, the problem is in the remote or the logic board, not the door. If neither works, the opener is the starting point.
That sequence takes you to a probable cause in most cases. What it can’t do is tell you whether a roller that looks fine is actually on its way out, or whether an opener’s force setting is masking a door that’s starting to bind – which is why a trained eye on-site is worth more than any list of symptoms.
Brand-Specific Quirks: What We See Across the Major Systems
Troubleshooting a garage door isn’t brand-neutral. A LiftMaster opener has different limit adjustment procedures than a Genie, and a Clopay door’s panel and hardware layout differs from an Amarr. That’s why the fault map is only half the work – the other half is knowing the specific mechanics of whatever is already in your driveway.
We service eight of the most widely installed door and opener brands in residential construction: LiftMaster, Chamberlain, Genie, Clopay, Amarr, Wayne Dalton, Craftsman, and Raynor. On the door side, Clopay, Amarr, Wayne Dalton, and Raynor cover a range from entry-level doors to the higher-end paneled and insulated doors common in mid- to high-end homes across the Waterbury area. On the opener side, LiftMaster, Chamberlain, Genie, and Craftsman are the electronics most homeowners find above their heads.
Why does it matter for troubleshooting? Because a Chamberlain and a Genie set their travel limits in completely different ways, and a homeowner who follows a generic troubleshooting video for the wrong brand will chase a limit setting that doesn’t exist on their unit. The reverse is also true: sensors from one opener line often won’t behave on another, and a blown logic board on a Raynor or a Craftsman has its own specific replacement path.
Our technicians are trained on all eight brands and have up to 15 years of experience with them. That covers both sides of the system – the garage door opener repair side with LiftMaster, Chamberlain, Genie, and Craftsman, and the door side with Clopay, Amarr, Wayne Dalton, and Raynor. It also covers the brand-agnostic diagnosis that comes before the brand-specific repair, which is really where most of the value sits. If your door fails on a cold morning, we work on whatever’s already installed.
See the difference
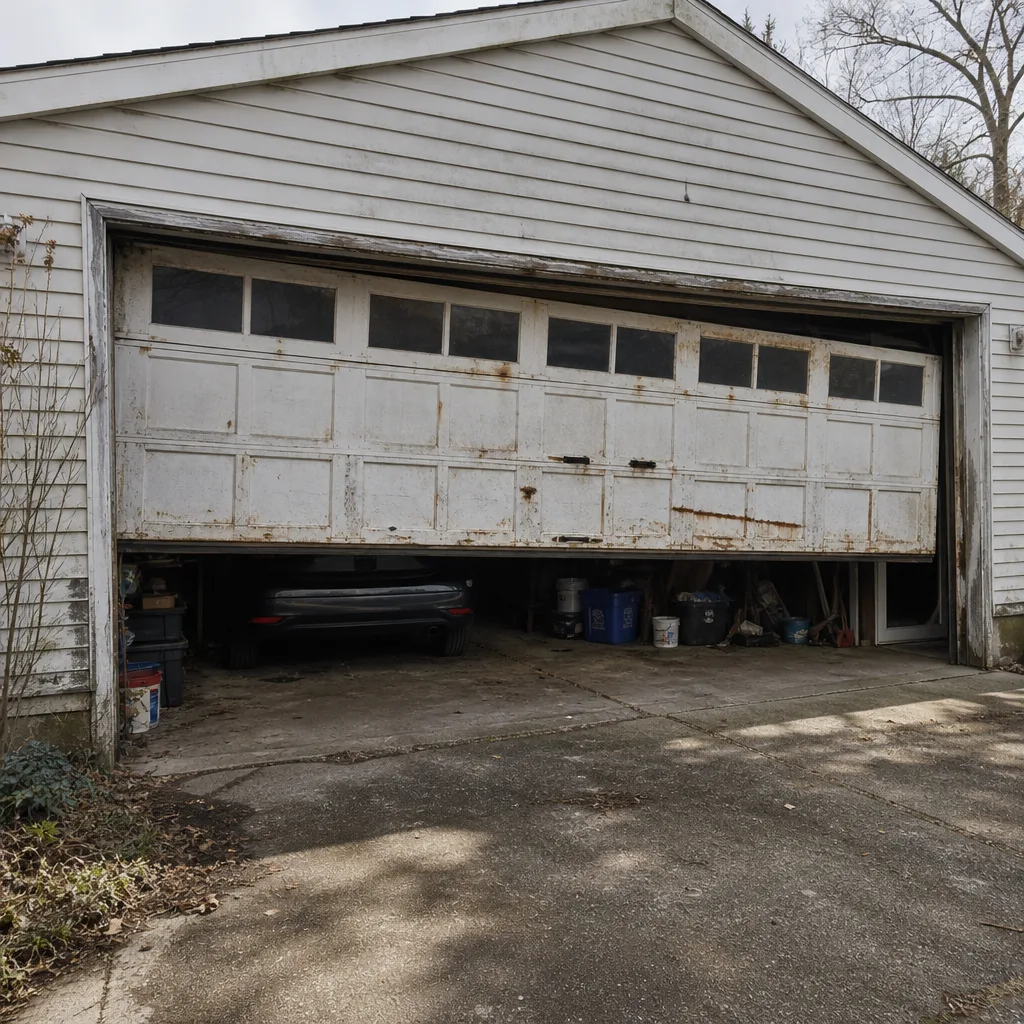 Before
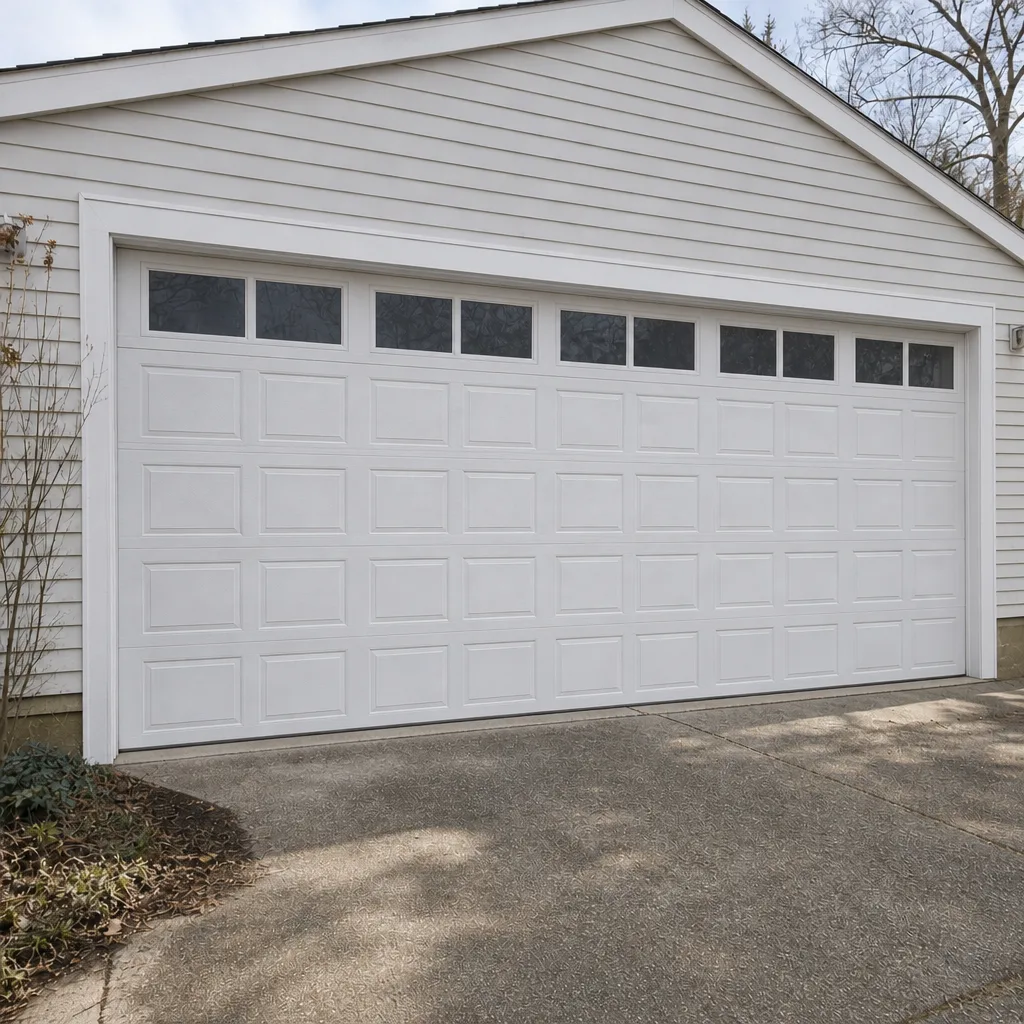 After
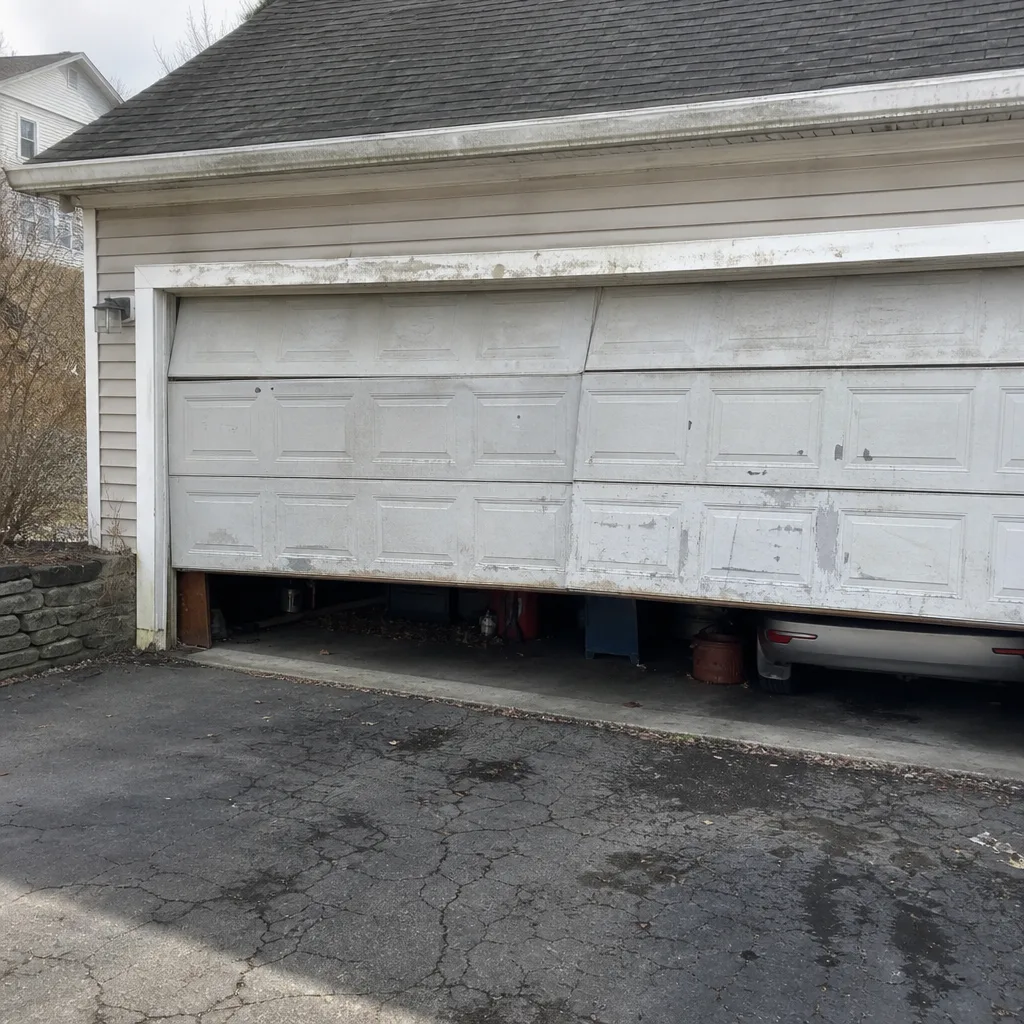 Before
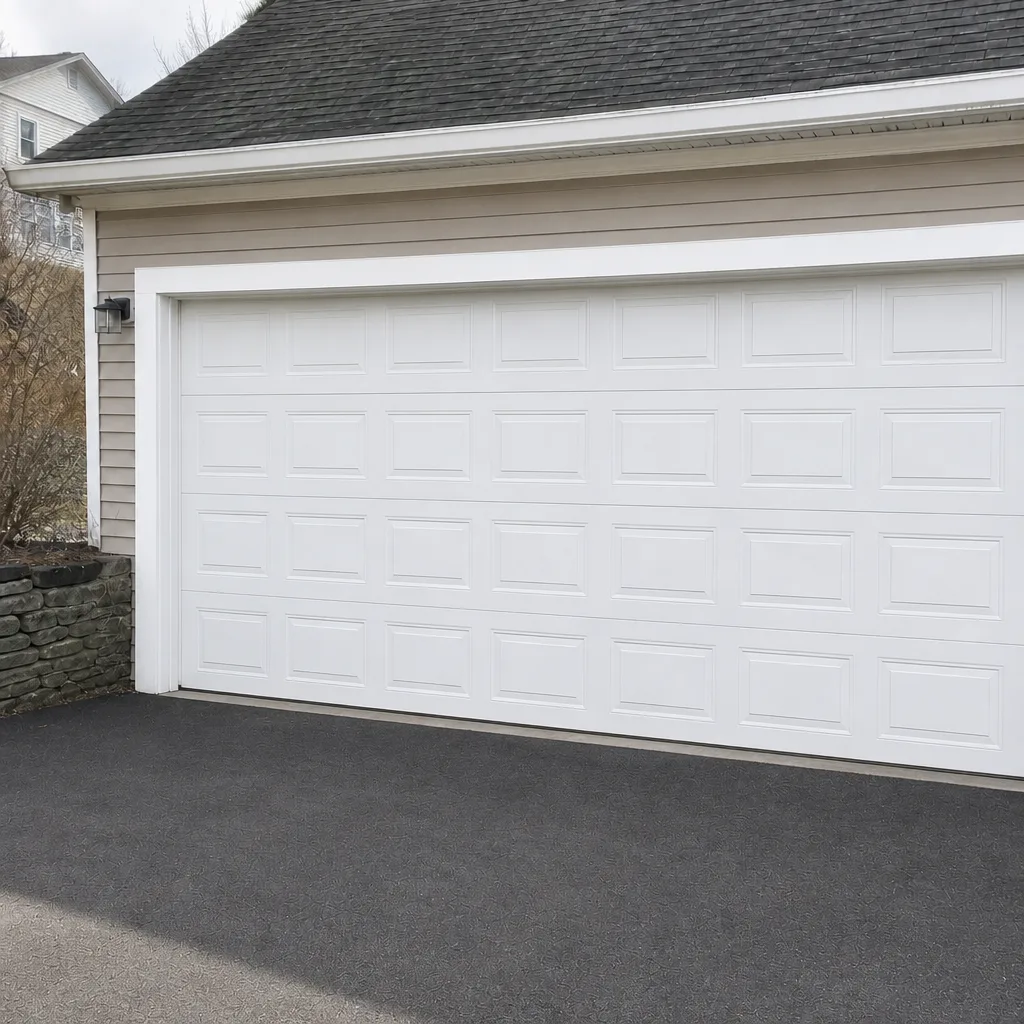 After
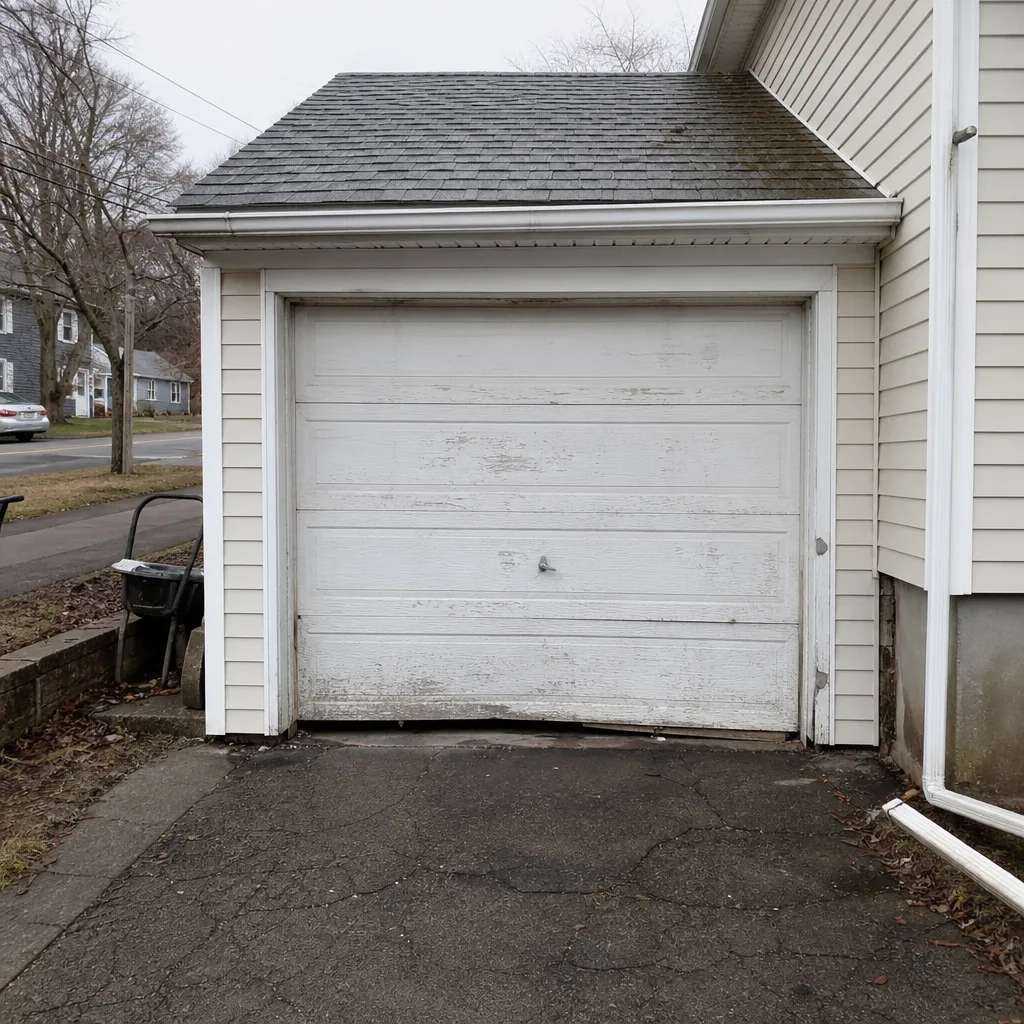 Before
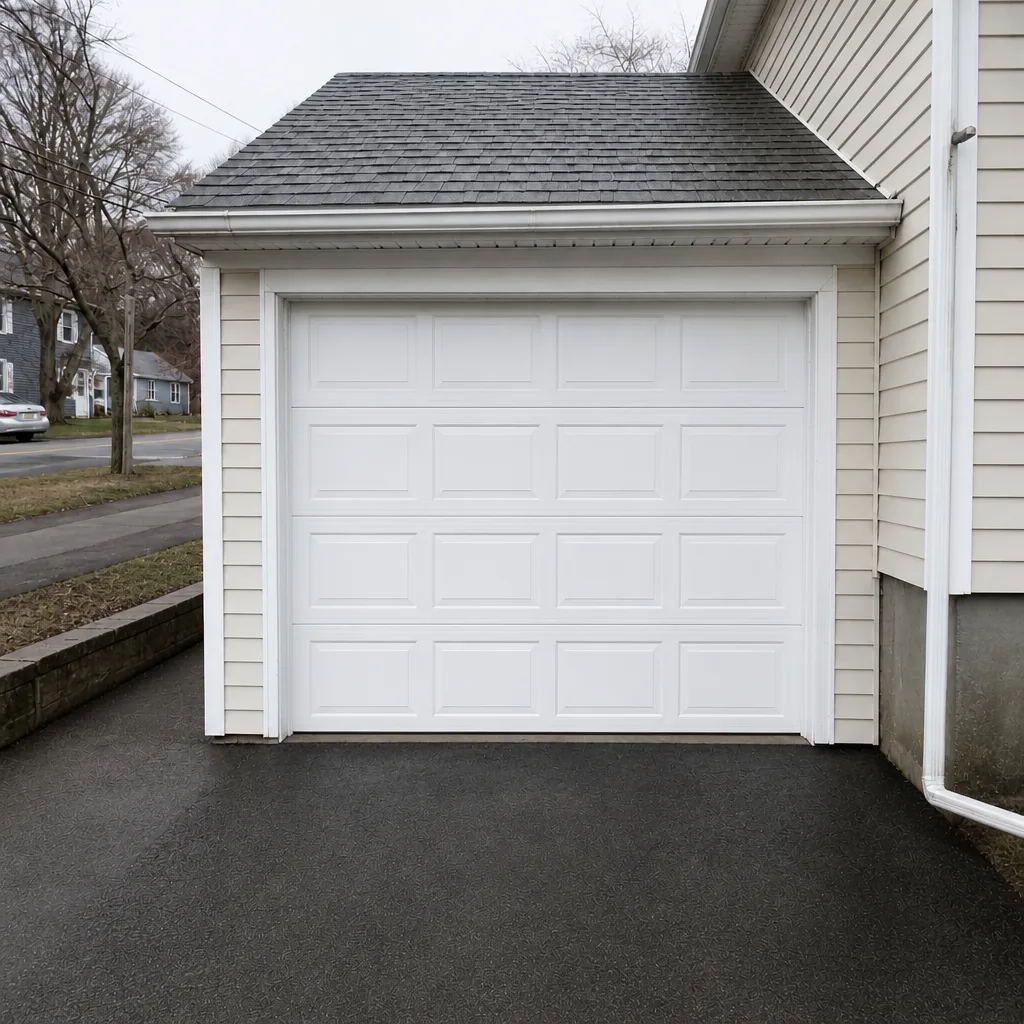 After
Common Mistakes to Avoid
These are the ones we see over and over, and each of them either costs you more money or turns a repair into a bigger repair.
- Replacing the opener when the door is the problem. If the door binds or is out of balance, a new opener doesn’t fix the cause – it just has more power to struggle with. Diagnose door-side first, always.
- Assuming grinding means springs. Springs fail loudly; they don’t grind. Grinding is almost always rollers, bearings, or hinges. Replacing springs for a grinding door is money down the drain.
- Greasing the tracks. A common instinct, and a wrong one. Track grease collects dirt and grit into a paste that wears rollers faster. Grease the rollers and hinges at most; the track itself should stay dry.
- Adjusting the force setting to compensate for a heavy door. Turning up the force on the opener to lift a door with a failing spring masks the problem and stresses the motor. If the door needs more force, the door is the problem, not the opener setting.
- Skipping the safety reverse test after any repair or adjustment. Any change to a limit, force setting, track, or roller affects how the door reverses on obstruction. Test it after every repair, not just annually.
- Leaving worn rollers and tracks alone through a Waterbury winter. A roller that’s getting marginal in October will be grinding by February. Fixing it in the fall is a small job; fixing it after it’s worn the track is a bigger one.
- Propping a door open with a broken spring. Common, and dangerous. If the spring is broken, don’t prop it and don’t run it. A spring-assisted door that’s lost tension can drop without warning.
When to Call a Professional
Call a professional for anything involving springs, cables, or drums, full stop – that’s the highest-risk work on the entire door and it’s not a homeowner repair regardless of what a video shows. Call for a door that fails the safety reverse test, one that hangs crooked, one that slams instead of stopping, or one that a homeowner has to lift by hand because the opener can’t. Call for a grinding door you can’t pin on a single roller and for an opener that runs but doesn’t move anything. And call when the diagnostics point to two possible components, because swapping parts to find the answer costs more than one diagnosis. Ambassador Garage Door Repair offers free estimates in Waterbury – call (844) 783-9136. The written estimate sets the final price before any work starts.
Frequently Asked Questions
Pull the manual release to disengage the opener and try to lift the door by hand. If it’s heavy, binds, or won’t hold its position, the problem is door-side. If it moves freely by hand but the opener runs without moving it, the problem is opener-side. Call (844) 783-9136 for an exact quote – estimates are free.
No. Torsion springs are under very high tension and are the most dangerous component on the door. Winding, unwinding, or replacing one without the correct tools and training can cause serious injury. Leave spring repair to a trained technician – call (844) 783-9136 and we’ll take a look.
Usually a safety sensor misalignment or a travel limit setting that’s drifted, less often a binding door that’s tripping the open-force limit. Wipe both photo-eye lenses, check for obstructions, and look for a loose wire at the sensor. If it still reverses, it’s time for a technician to look at the limits – call (844) 783-9136 for a free estimate.
Freeze-thaw cycles are the usual reason in Waterbury. Cold shrinks metal slightly, roller grease thickens, and tracks that were in alignment in fall can drift through the winter. Worn rollers are another common culprit, since grinding that starts in cold weather and quiets in summer usually means the rollers are near the end of their life. Call (844) 783-9136 to have it checked.
Price depends entirely on which component failed, since a roller replacement and a spring replacement are very different jobs. We set the price per job with a written estimate, and the estimate is free – the written price is what you pay, quoted and agreed before any work starts. Call (844) 783-9136 for an exact quote.
Once a month is the standard recommendation, and again after any repair or adjustment to the door, tracks, rollers, limits, or force settings. Place a piece of wood under the door and close it; if the door doesn’t reverse on contact, stop using it and call a professional.
The Bottom Line
Garage door troubleshooting works best when you follow the symptom back to the component instead of guessing at parts. Springs, cables, rollers, and tracks account for most failures, but the door-side versus opener-side split is what determines whether you’re paying for the right repair. Waterbury’s freeze-thaw winters add specific pressure on tracks, cables, and rollers, which is why fall and spring inspections pay for themselves. And a door that “mostly works” isn’t a working door – if the safety reverse test fails, stop using it. When the fault map points to something you shouldn’t touch, that’s the moment to call a specialist.
If your door is doing something this guide didn’t answer, or you’ve narrowed it down and want a second set of eyes, call Ambassador Garage Door Repair at (844) 783-9136 for a free estimate. We answer 24/7. Fast dispatch from 7am to 7pm, Sunday through Friday. Our technicians have up to 15 years of experience and work on whatever’s already in your driveway – from LiftMaster and Chamberlain to Clopay and Amarr – so there’s no hand-off to a second contractor and no guessing at the parts.
Written by the team at Ambassador Garage Door Repair.